
Ever pondered what nefarious deeds might be transpiring within the hidden valleys and peaks of your molars? Cavities, also known as dental caries, are a common dental ailment, yet their multifaceted manifestation on molar surfaces often remains a mystery to the uninitiated. Can you identify the silent saboteurs eroding your pearly whites, even before discomfort sets in? This compendium unveils the progressive stages of cavity formation on molars, equipping you with the knowledge to detect and address these dental delinquents.
I. The Anatomy of a Molar: A Foundation for Understanding
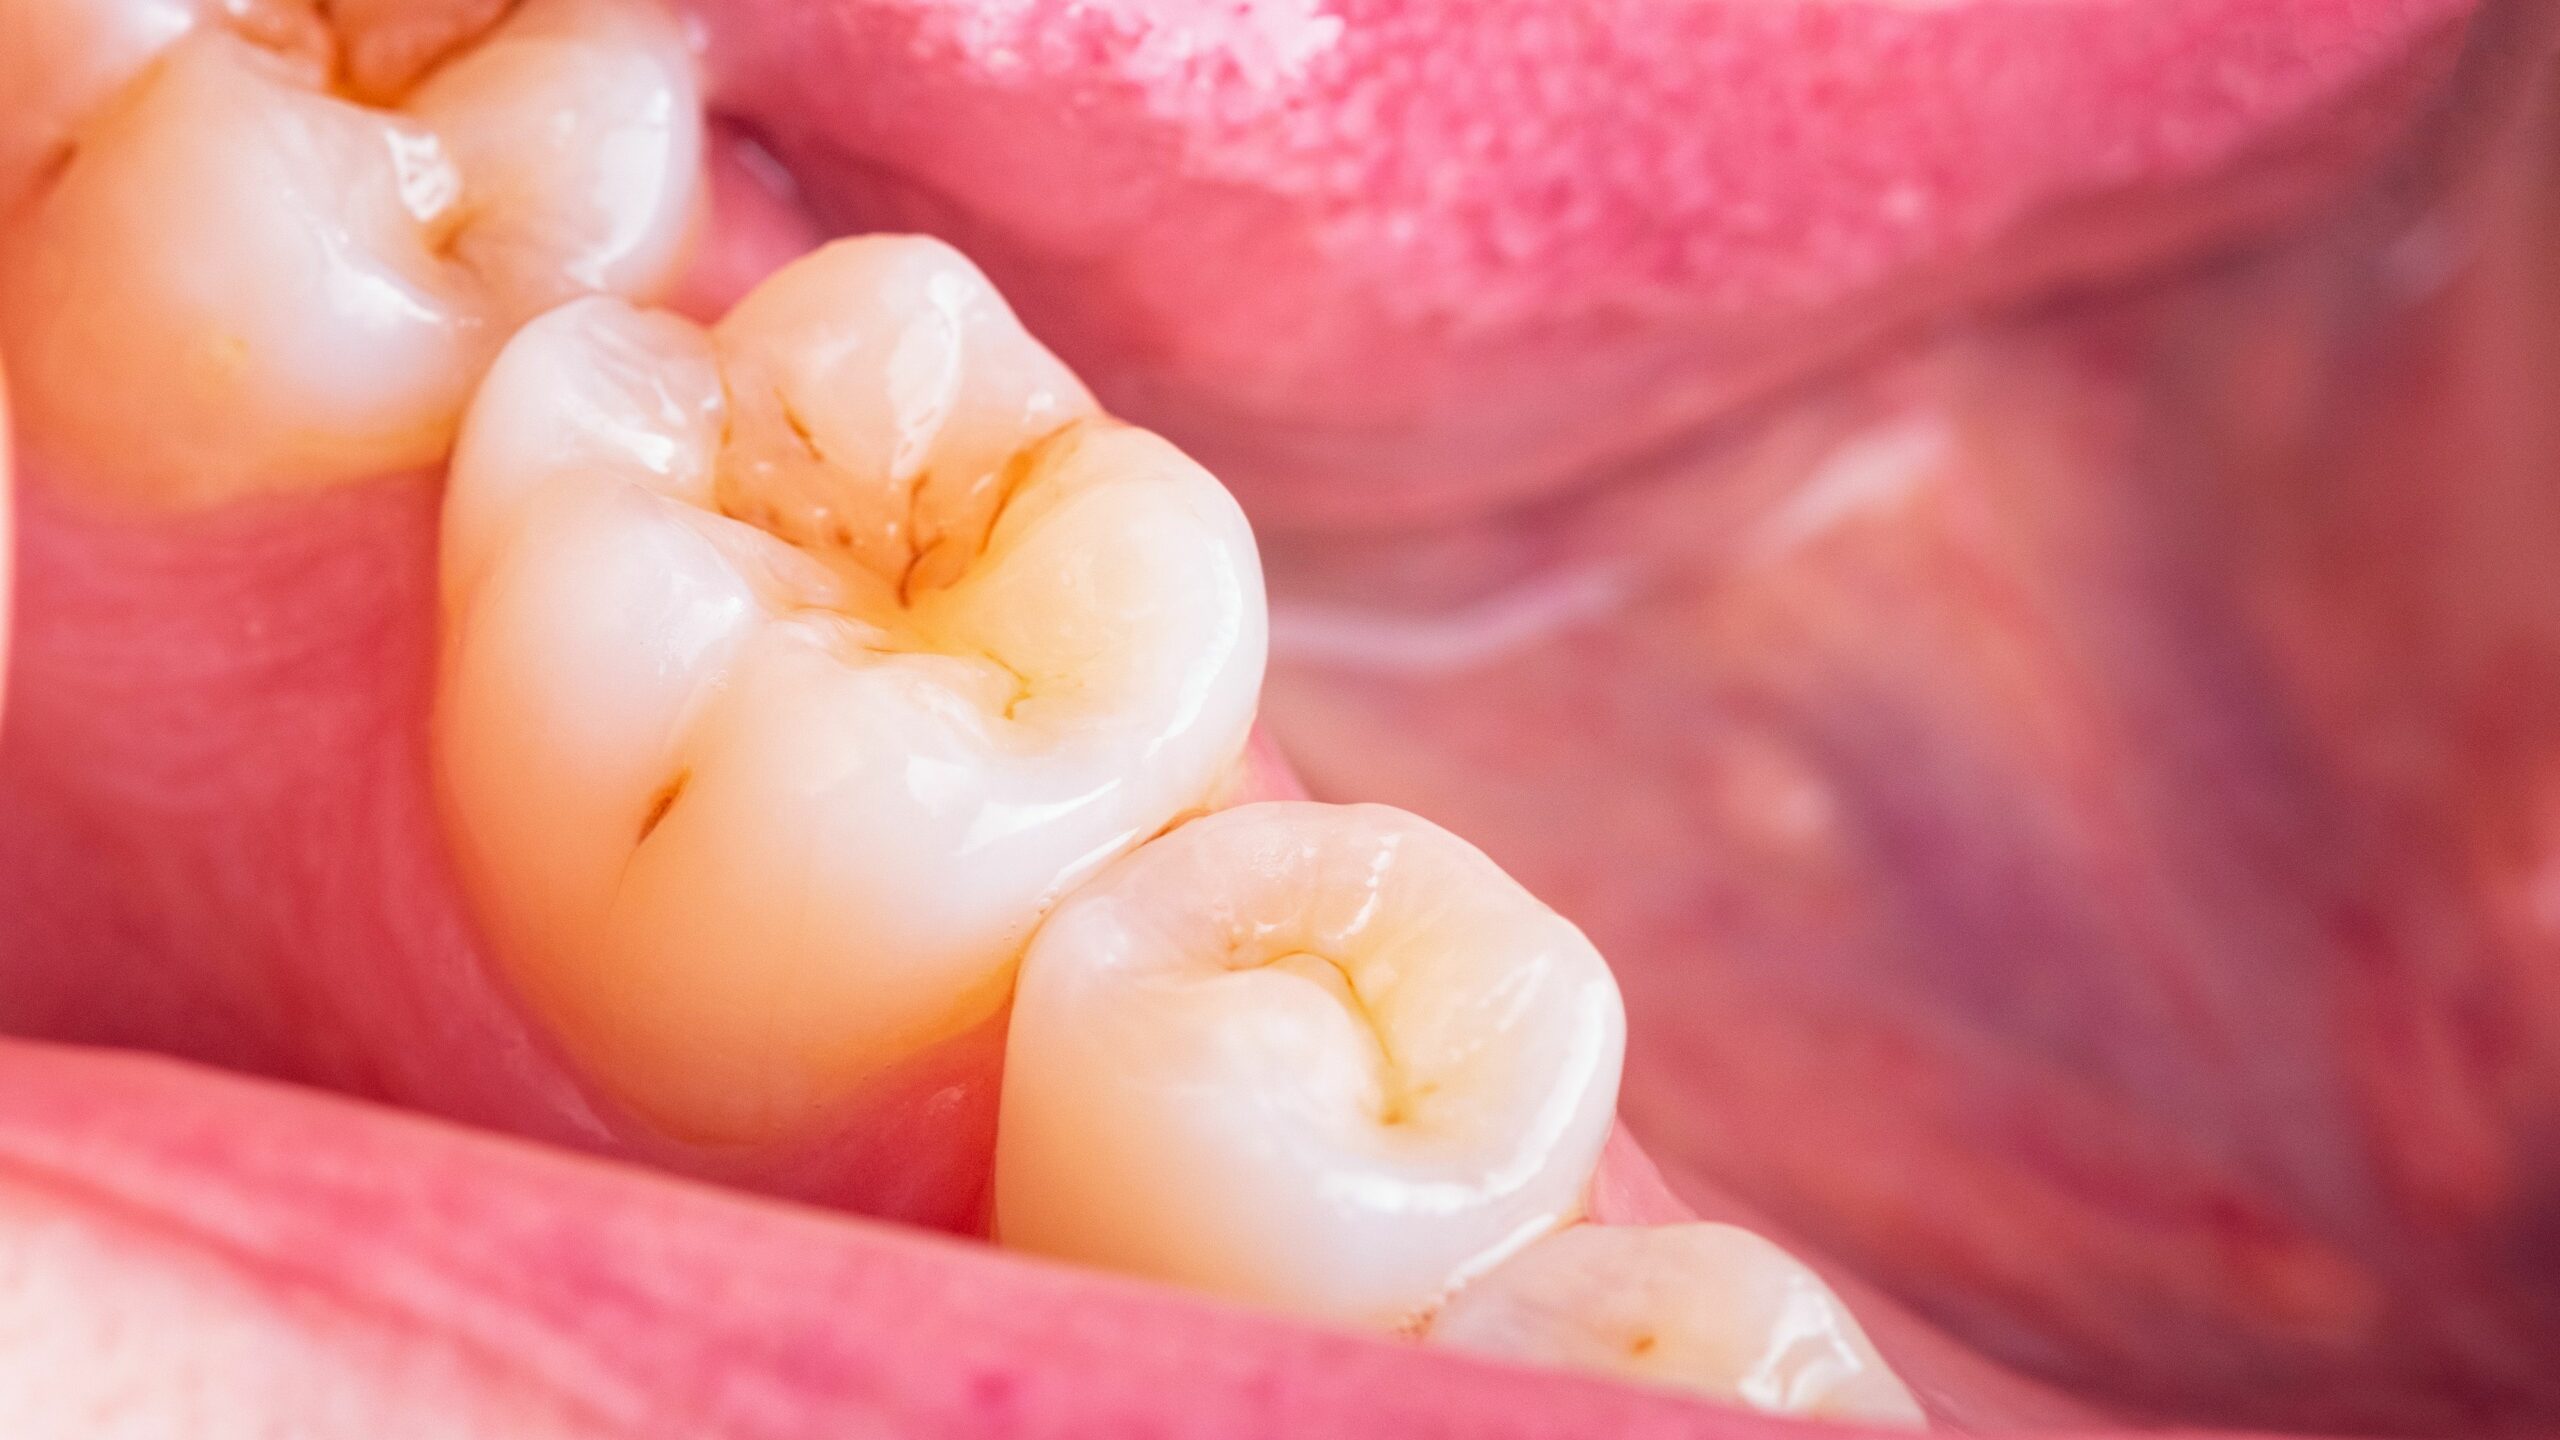
To accurately discern the visual cues of cavity development on molars, a foundational understanding of their anatomical structure is paramount. Molars, situated at the posterior aspect of the oral cavity, are characterized by a broad, multi-cusped occlusal surface ideally suited for grinding and masticating food. Their complex morphology features fissures, pits, and grooves – veritable havens for bacterial colonization and the initiation of carious lesions. The enamel, the outermost protective layer, while the hardest substance in the human body, is not impervious to acid erosion. Beneath the enamel lies the dentin, a softer, more porous tissue. Finally, the innermost layer is the pulp, containing nerves and blood vessels, where the consequences of untreated cavities are acutely felt.
II. Stage 1: The Initial Enamel Lesion – A Subtle Incursion
The genesis of a cavity frequently commences as a subtle alteration in the enamel’s surface. The initial stage is often characterized by a chalky white spot, clinically referred to as a white spot lesion. This area represents a zone of demineralization, where the enamel has lost its mineral content due to acid production by oral bacteria, primarily *Streptococcus mutans*. At this juncture, the enamel remains largely intact, although microscopically porous. Detecting these lesions requires keen observational skills and often the discerning eye of a dental professional utilizing specialized diagnostic tools. Sometimes it’s practically invisible to the naked eye. Fluoride application at this stage can often remineralize the enamel, effectively reversing the carious process.
III. Stage 2: Enamel Breakdown – The Point of No Return?
As the demineralization process advances, the enamel’s structural integrity diminishes, eventually leading to a tangible breakdown of the surface. This stage is marked by the appearance of a small, often barely visible pit or fissure. The tooth may display a slight discoloration around the affected area, transitioning from chalky white to a light brown or gray hue. Tactile exploration with a dental explorer might reveal a softened or roughened texture. While early intervention is still possible at this stage, the restorative approach typically involves the placement of a dental filling to prevent further progression.
IV. Stage 3: Dentin Involvement – A Deeper Dive
Once the carious lesion penetrates through the enamel and reaches the dentin, the rate of decay accelerates. Dentin, being less mineralized than enamel, is more susceptible to acid erosion. At this stage, the cavity becomes more readily visible as a dark spot or hole on the molar surface. The discoloration deepens, ranging from dark brown to black. Patients may experience sensitivity to temperature changes, particularly cold, or to sweet stimuli. Left unaddressed, the expanding carious lesion undermines the structural support of the remaining enamel, potentially leading to fractures or chipping. Endodontic therapy or extraction might be necessary.
V. Stage 4: Pulp Involvement – The Painful Culmination
The final and most critical stage arises when the carious process breaches the dentin and reaches the pulp. This typically elicits intense, throbbing pain, often exacerbated by chewing or pressure. Inflammation of the pulp, known as pulpitis, can lead to a dental abscess, a localized collection of pus at the root of the tooth. Visual examination often reveals a large, gaping cavity extending deep into the tooth structure. Treatment at this stage often necessitates root canal therapy to remove the infected pulp tissue and preserve the tooth. In cases of extensive damage, extraction may be the only viable option. Ignoring the situation won’t make it disappear.
VI. Atypical Cavities on Molars: Recognizing the Variants
While the progression described above represents a typical scenario, certain variations in cavity presentation can occur on molars. Rampant caries, characterized by rapid and widespread decay, can affect multiple teeth simultaneously. Root caries, developing on exposed root surfaces due to gingival recession, are more common in older adults. Proximal caries, occurring between adjacent teeth, are often difficult to detect visually and require radiographic examination. Understanding these atypical presentations is crucial for comprehensive diagnosis and treatment planning.
VII. Prevention: The Cornerstone of Molar Health
Prevention remains the most effective strategy for combating cavities on molars. Meticulous oral hygiene practices, including regular brushing and flossing, are essential for removing plaque and food debris. Fluoride, whether through toothpaste, mouthwash, or professional application, strengthens enamel and enhances its resistance to acid attack. Dietary modifications, limiting sugary and acidic foods and beverages, can reduce the substrate available for bacterial metabolism. Regular dental check-ups and professional cleanings allow for early detection of carious lesions and the implementation of preventive measures, such as dental sealants, which protect the occlusal surfaces of molars from decay. Embrace preventative maintenance. Your molars will thank you.


Leave a Comment